
Hardwood floors can be an exquisite addition to any home. However, the process of removing them can be quite challenging. Not only is hardwood challenging to remove without damaging the existing floor beneath it, but it is also difficult to remove due to its weight and awkward shape. It needs a skilled professional who knows the right tools and materials in order to make sure that it is removed safely and with minimal disruption. From dismantling furniture and hoisting heavy boards to dealing with adhesive residues, removing hardwood floors can be a tricky task.
Removing hardwood floors is a difficult task that requires the right tools and tips in order to do it correctly and safely. Without the right equipment, the job can become dangerous or even impossible. Having the correct tools and knowing the proper steps to follow can help make sure that you are successful in removing hardwood floors with minimal effort and damage. Knowing how to get started, taking safety precautions, utilizing the right products, and disposing of materials properly are all critical components of successfully removing hardwood floors.
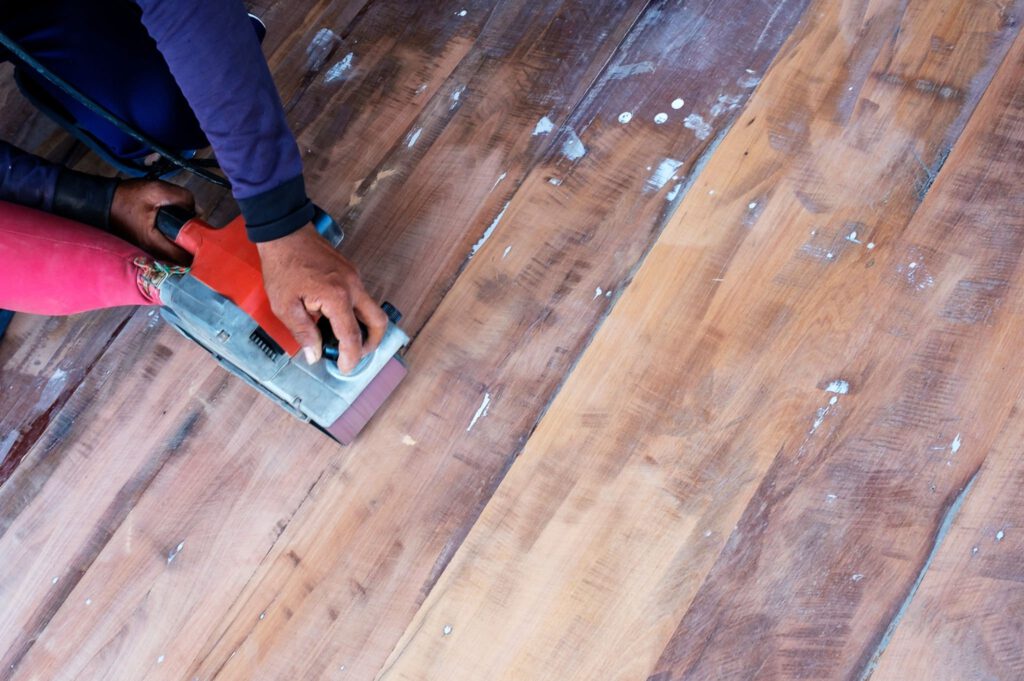
Tools for Removing Hardwood Floors
Removing hardwood floors can be a difficult and time-consuming task. However, with the right set of tools, it is possible to get the job done efficiently. There are a variety of tools available that can make this task easier, from specialized hammers and cutters to manual pullers and vacuums. Using the proper tools can help make the job simpler and faster, as well as ensure that no damage is done to the flooring itself.
However, using the proper tools can make the job much easier.
- Floor Scraper: A floor scraper is a must-have tool when removing hardwood floors. It is designed to remove stubborn flooring material, including hardwood, tile, and vinyl. The blade of the floor scraper is typically made of hardened steel, which makes it strong enough to remove hardwood flooring without breaking. The long handle of the floor scraper provides leverage, making it easier to remove large sections of flooring quickly.
- Pry Bar: A pry bar is another essential tool for removing hardwood floors. It is used to pry up individual floorboards or sections of flooring that are nailed or glued down. A pry bar is typically made of hardened steel and has a long, flat blade that is designed to fit underneath the flooring material. The pry bar provides leverage and makes it easier to lift up sections of flooring without damaging them.
- Circular Saw: A circular saw is a powerful cutting tool that can be used to cut through hardwood flooring. It is particularly useful for cutting through thicker hardwood boards that cannot be easily removed with a pry bar. A circular saw is also useful for cutting the flooring into smaller, more manageable pieces that can be easily removed.
- Reciprocating Saw: A reciprocating saw is another cutting tool that is useful for removing hardwood floors. It is particularly useful for cutting through smaller sections of flooring that are difficult to remove with a pry bar or circular saw. The reciprocating saw is also useful for cutting through the flooring material close to walls or other obstacles.
- Hammer and Chisel: A hammer and chisel can be used to remove individual boards of hardwood flooring that are nailed down. The chisel is used to pry up the board, and the hammer is used to tap the chisel, making it easier to remove the board. A hammer and chisel are also useful for removing any leftover adhesive or nails from the subfloor after the flooring has been removed.
- Floor Nailer: If the hardwood flooring is nailed down, a floor nailer may be necessary to remove the boards. A flooring nailer is a specialized tool that is designed to remove nails from hardwood flooring without damaging the boards. The nailer is attached to an air compressor and uses compressed air to drive the nails out of the boards.
Removing hardwood floors can be a difficult and time-consuming task. However, with the right tools, it can be done quickly and efficiently. A floor scraper, pry bar, circular saw, reciprocating saw, hammer and chisel, and floor nailer are all essential tools for removing hardwood floors. By using these tools and techniques, you can remove your old hardwood flooring and prepare your subfloor for new flooring.
Tips for Removing Hardwood Floors
Removing hardwood floors may seem overwhelming to some, but with the right preparation and know-how, it can be a relatively simple process that you can do yourself. This article will cover some tips on how to remove hardwood floors efficiently and safely. By understanding the steps and having the necessary tools, you can complete this project with success. By following these instructions properly and carefully, your flooring removal job should be complete in no time.
- “Prepare the Room” ensures that everything is ready for painting.
- Begin at the edges of the room to create a more professional look.
- Work in small sections to improve accuracy and make sure every area is completely covered.
- Protect yourself with goggles, a respirator, and other tools as needed while painting.
- Be sure to remove all nails from walls before starting – one less mistake that can ruin your paint job!
Step-by-Step Guide for Removing Hardwood Floors
Removing hardwood floors can be daunting, but it can be a relatively simple job if you have access to the right tools, materials, and instructions. This guide offers a step-by-step approach to ensure that you remove your hardwood floors in the most efficient and safe manner possible.
By utilizing this step-by-step guide, you can rest assured that all of your hardwood floorings are removed as quickly and safely as possible so that no damage is incurred during the process.
- Prep the Room: Before you start, it’s important to prep the room to ensure that the removal process goes as smoothly as possible. This includes removing any furniture or obstacles from the room, as well as covering any vents or electrical outlets with plastic to protect them from debris.
- Remove the Baseboards: The next step is to remove the baseboards. Use a pry bar and hammer to carefully remove them from the walls, taking care not to damage the walls or the baseboards themselves. If the baseboards are nailed into the wall studs, you may need to use a reciprocating saw to cut them out.
- Start Removing the Flooring: Once the baseboards are removed, you can start removing the hardwood flooring. Depending on the installation method, this may involve either prying up individual boards with a pry bar or using a floor scraper to remove large sections of flooring at once. Take care not to damage the subfloor underneath the hardwood.
- Remove any Remaining Nails or Staples: After the flooring is removed, you’ll need to remove any remaining nails or staples from the subfloor. Use a pair of pliers or a nail puller to extract these, being careful not to damage the subfloor in the process.
- Clean up the Debris: Finally, it’s important to clean up the debris left behind from the removal process. Use a broom and dustpan to sweep up any loose debris and a shop vac or similar tool to remove any remaining dust or debris from the subfloor. You may also need to use a solvent to remove any remaining adhesive or glue from the subfloor.
That’s it! With these steps, you should be able to successfully remove your hardwood flooring and prepare your room for whatever comes next. Just remember to take your time, work carefully, and always prioritize safety throughout the process.
Contact FT Worth’s Hardwood Flooring
Removing hardwood floors can be a challenging process, but with the right tools and tips, it can be done efficiently and safely. Always prioritize safety, wear protective gear, and keep the work area well-ventilated. If you’re unsure about the process, seek professional help from FT Worth’s Hardwood Flooring, and visit their website to learn more about the services they offer in the area.
Our team of experts can ensure that the hardwood floor removal is done safely and efficiently without damaging your home or causing any injuries. Contact Us now!